
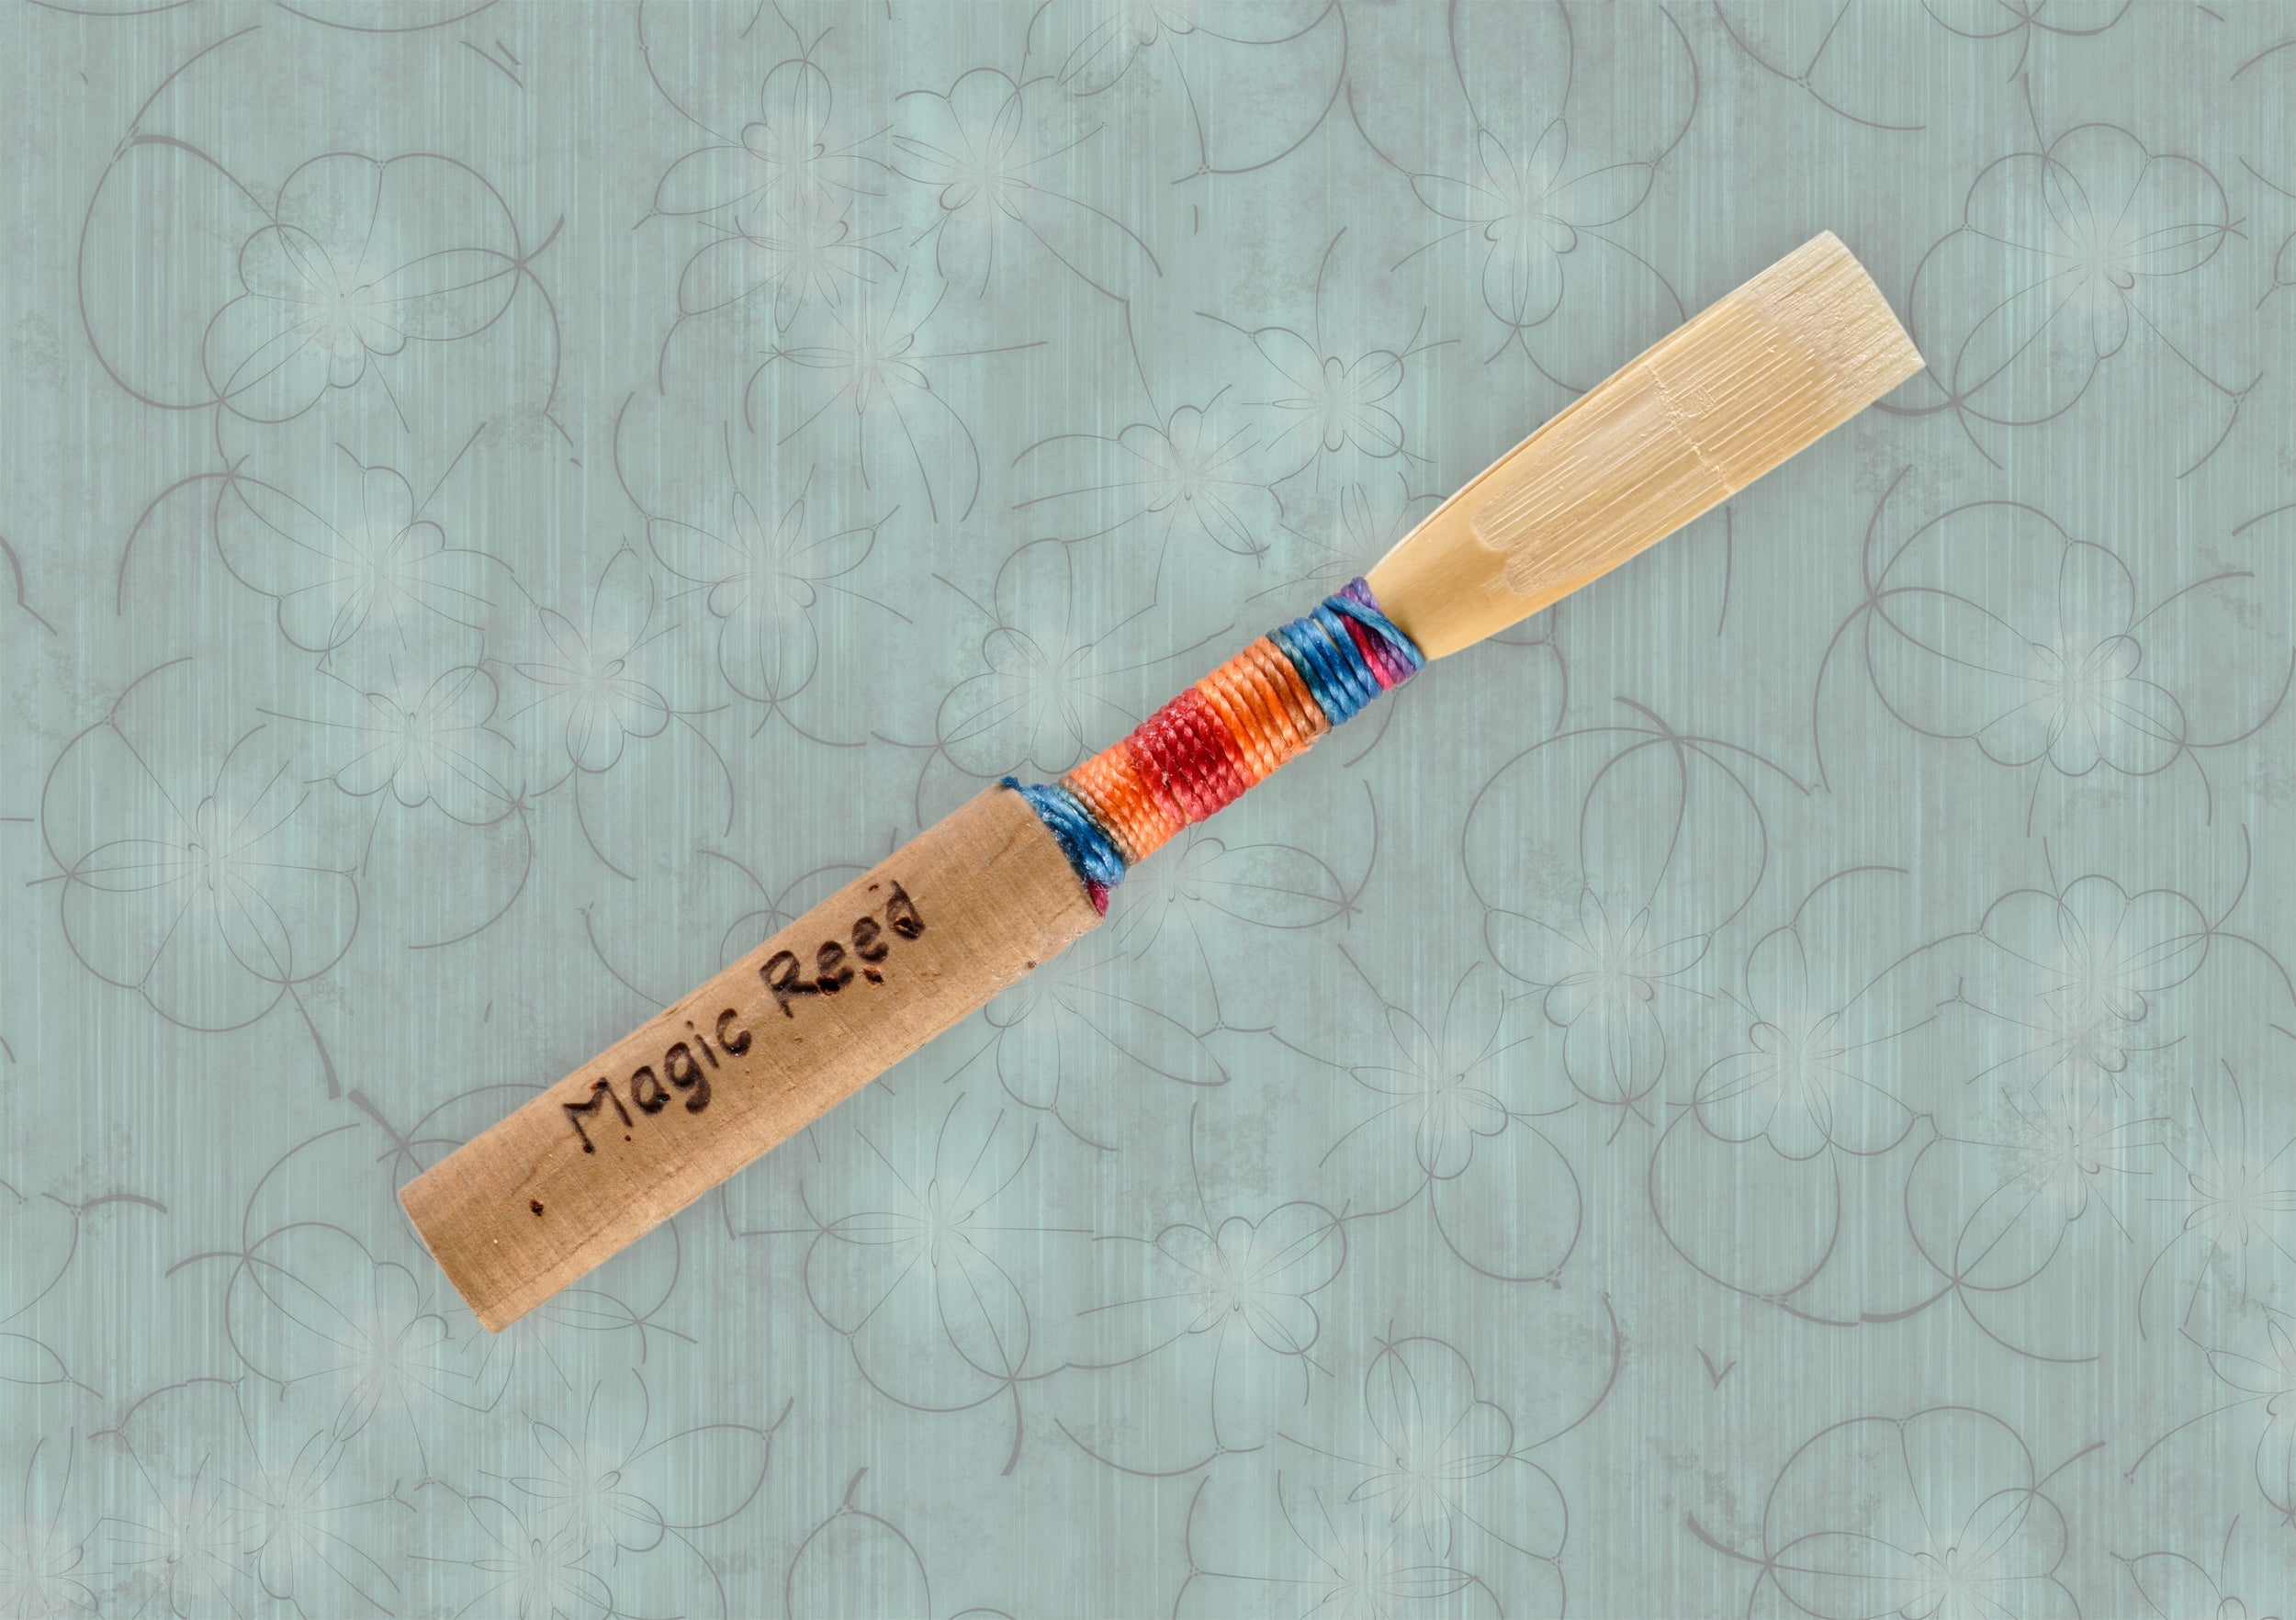

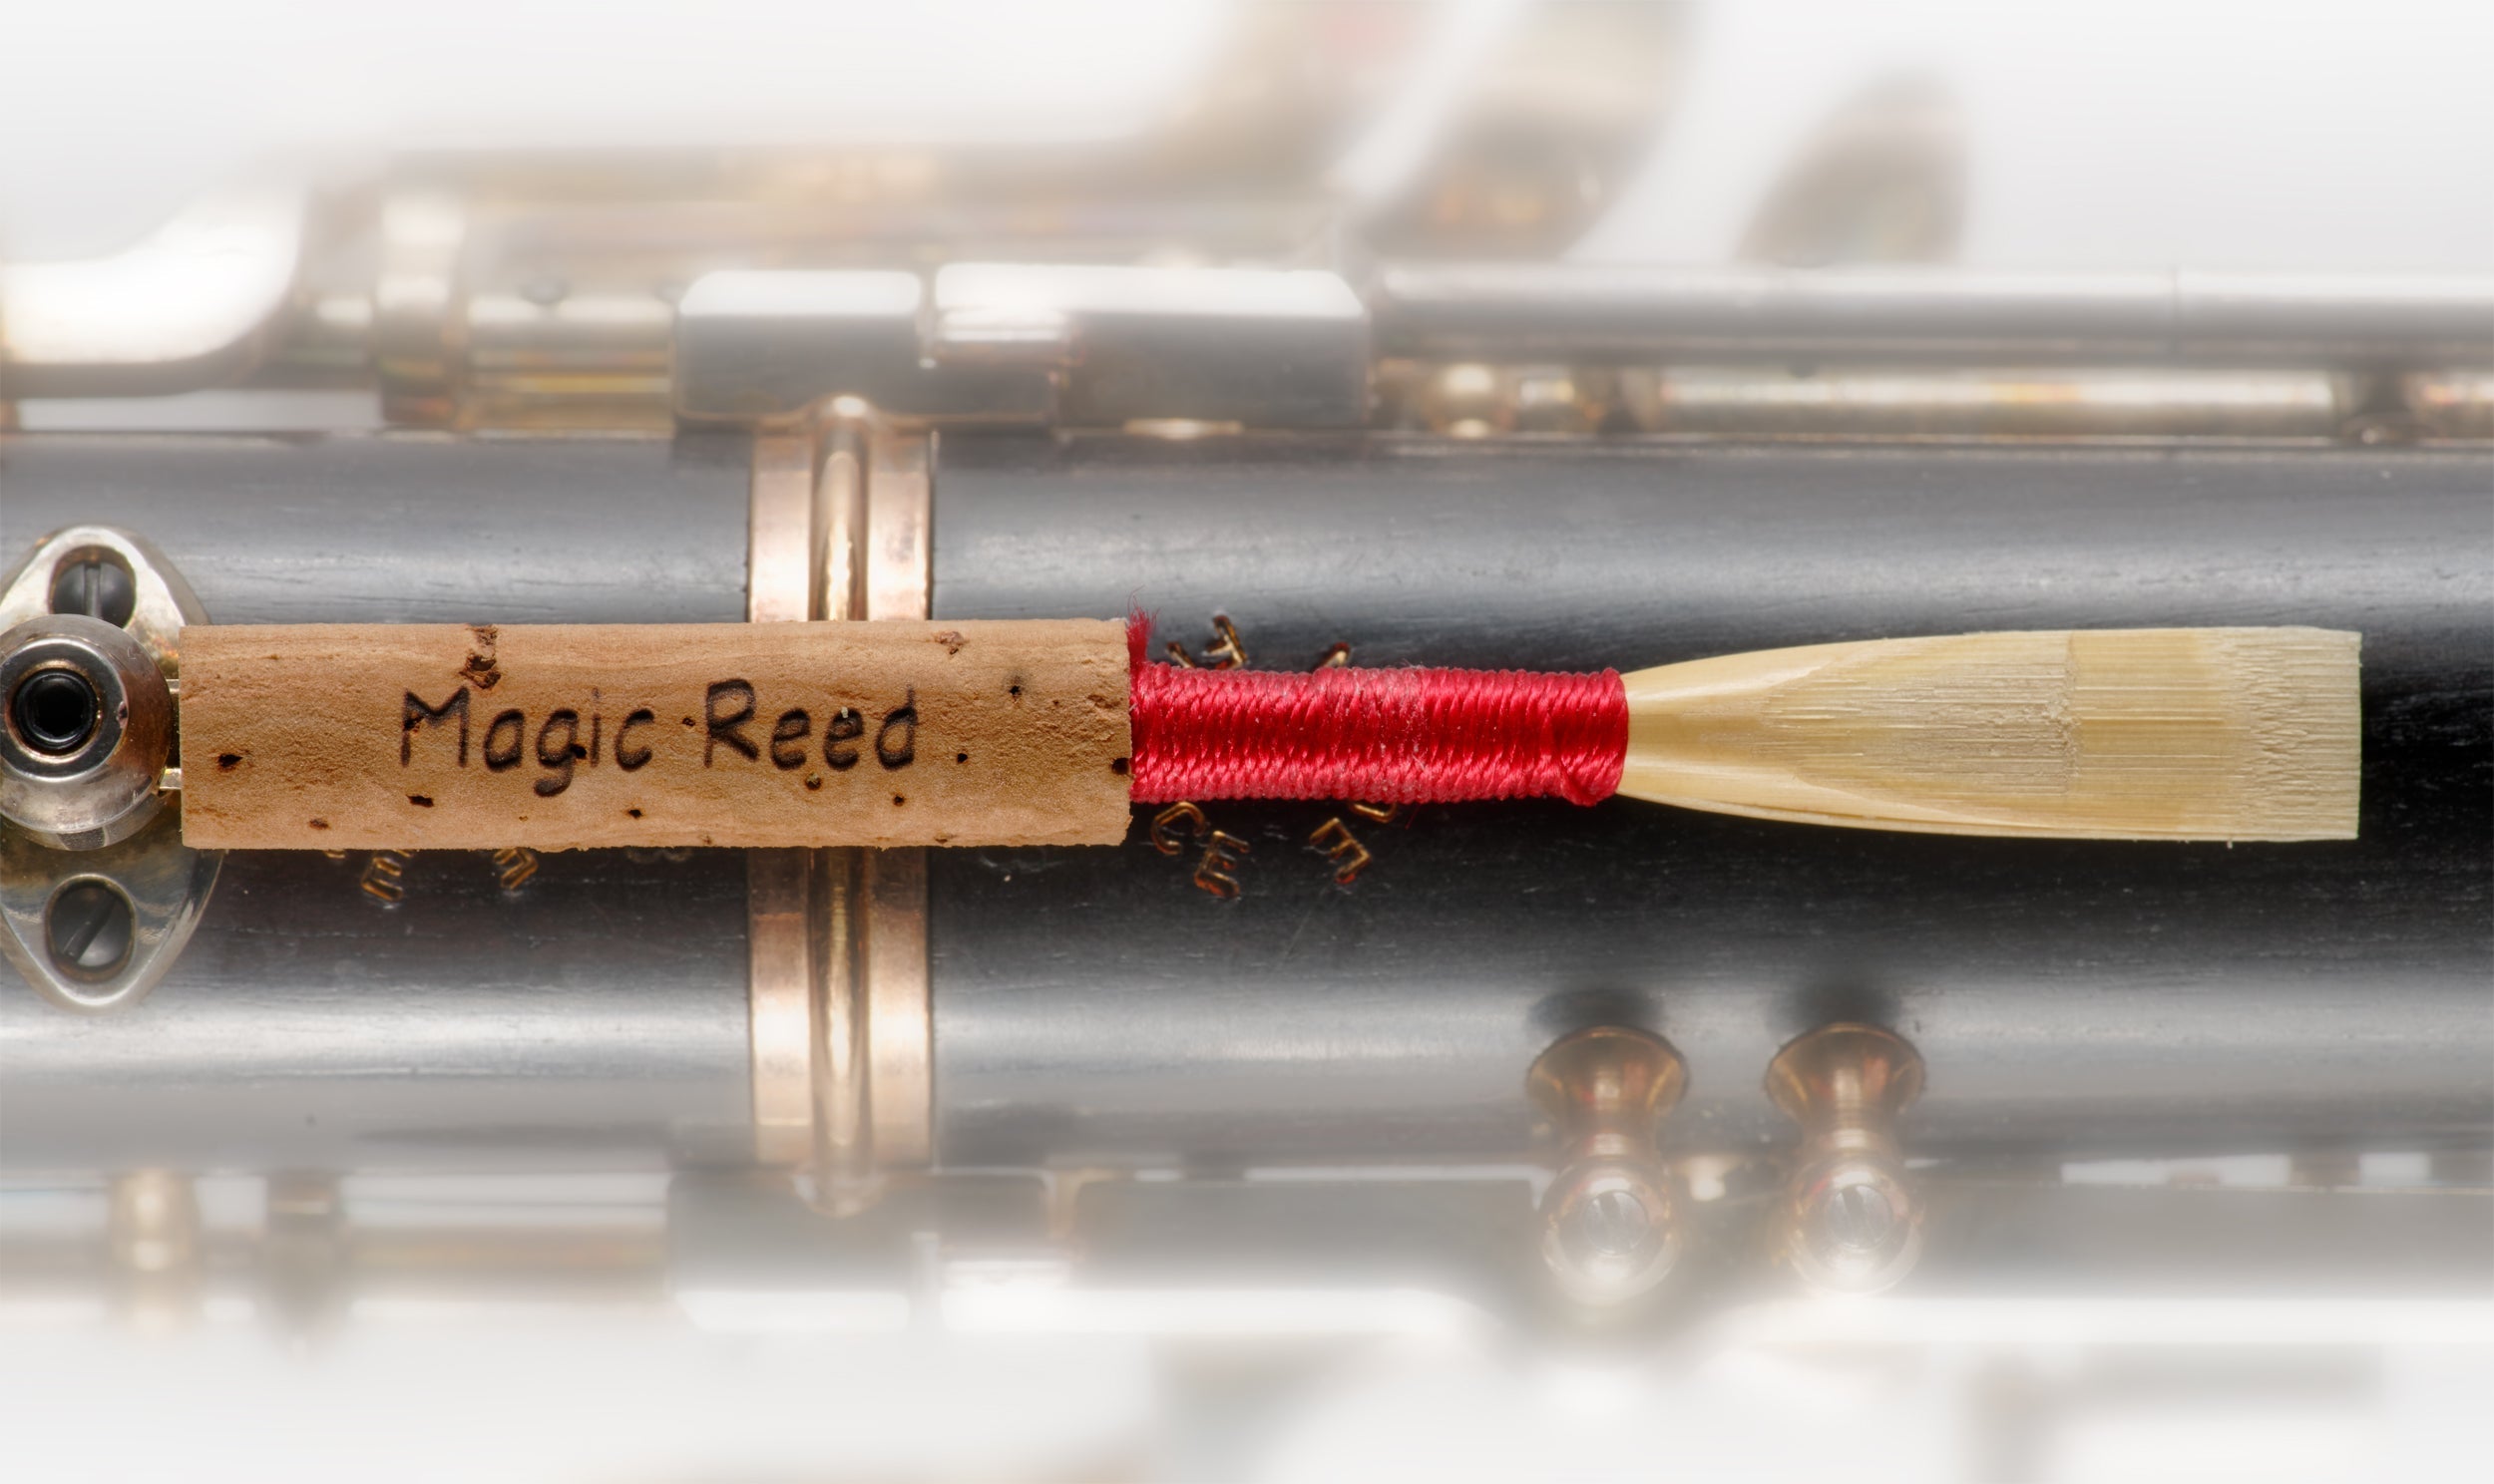
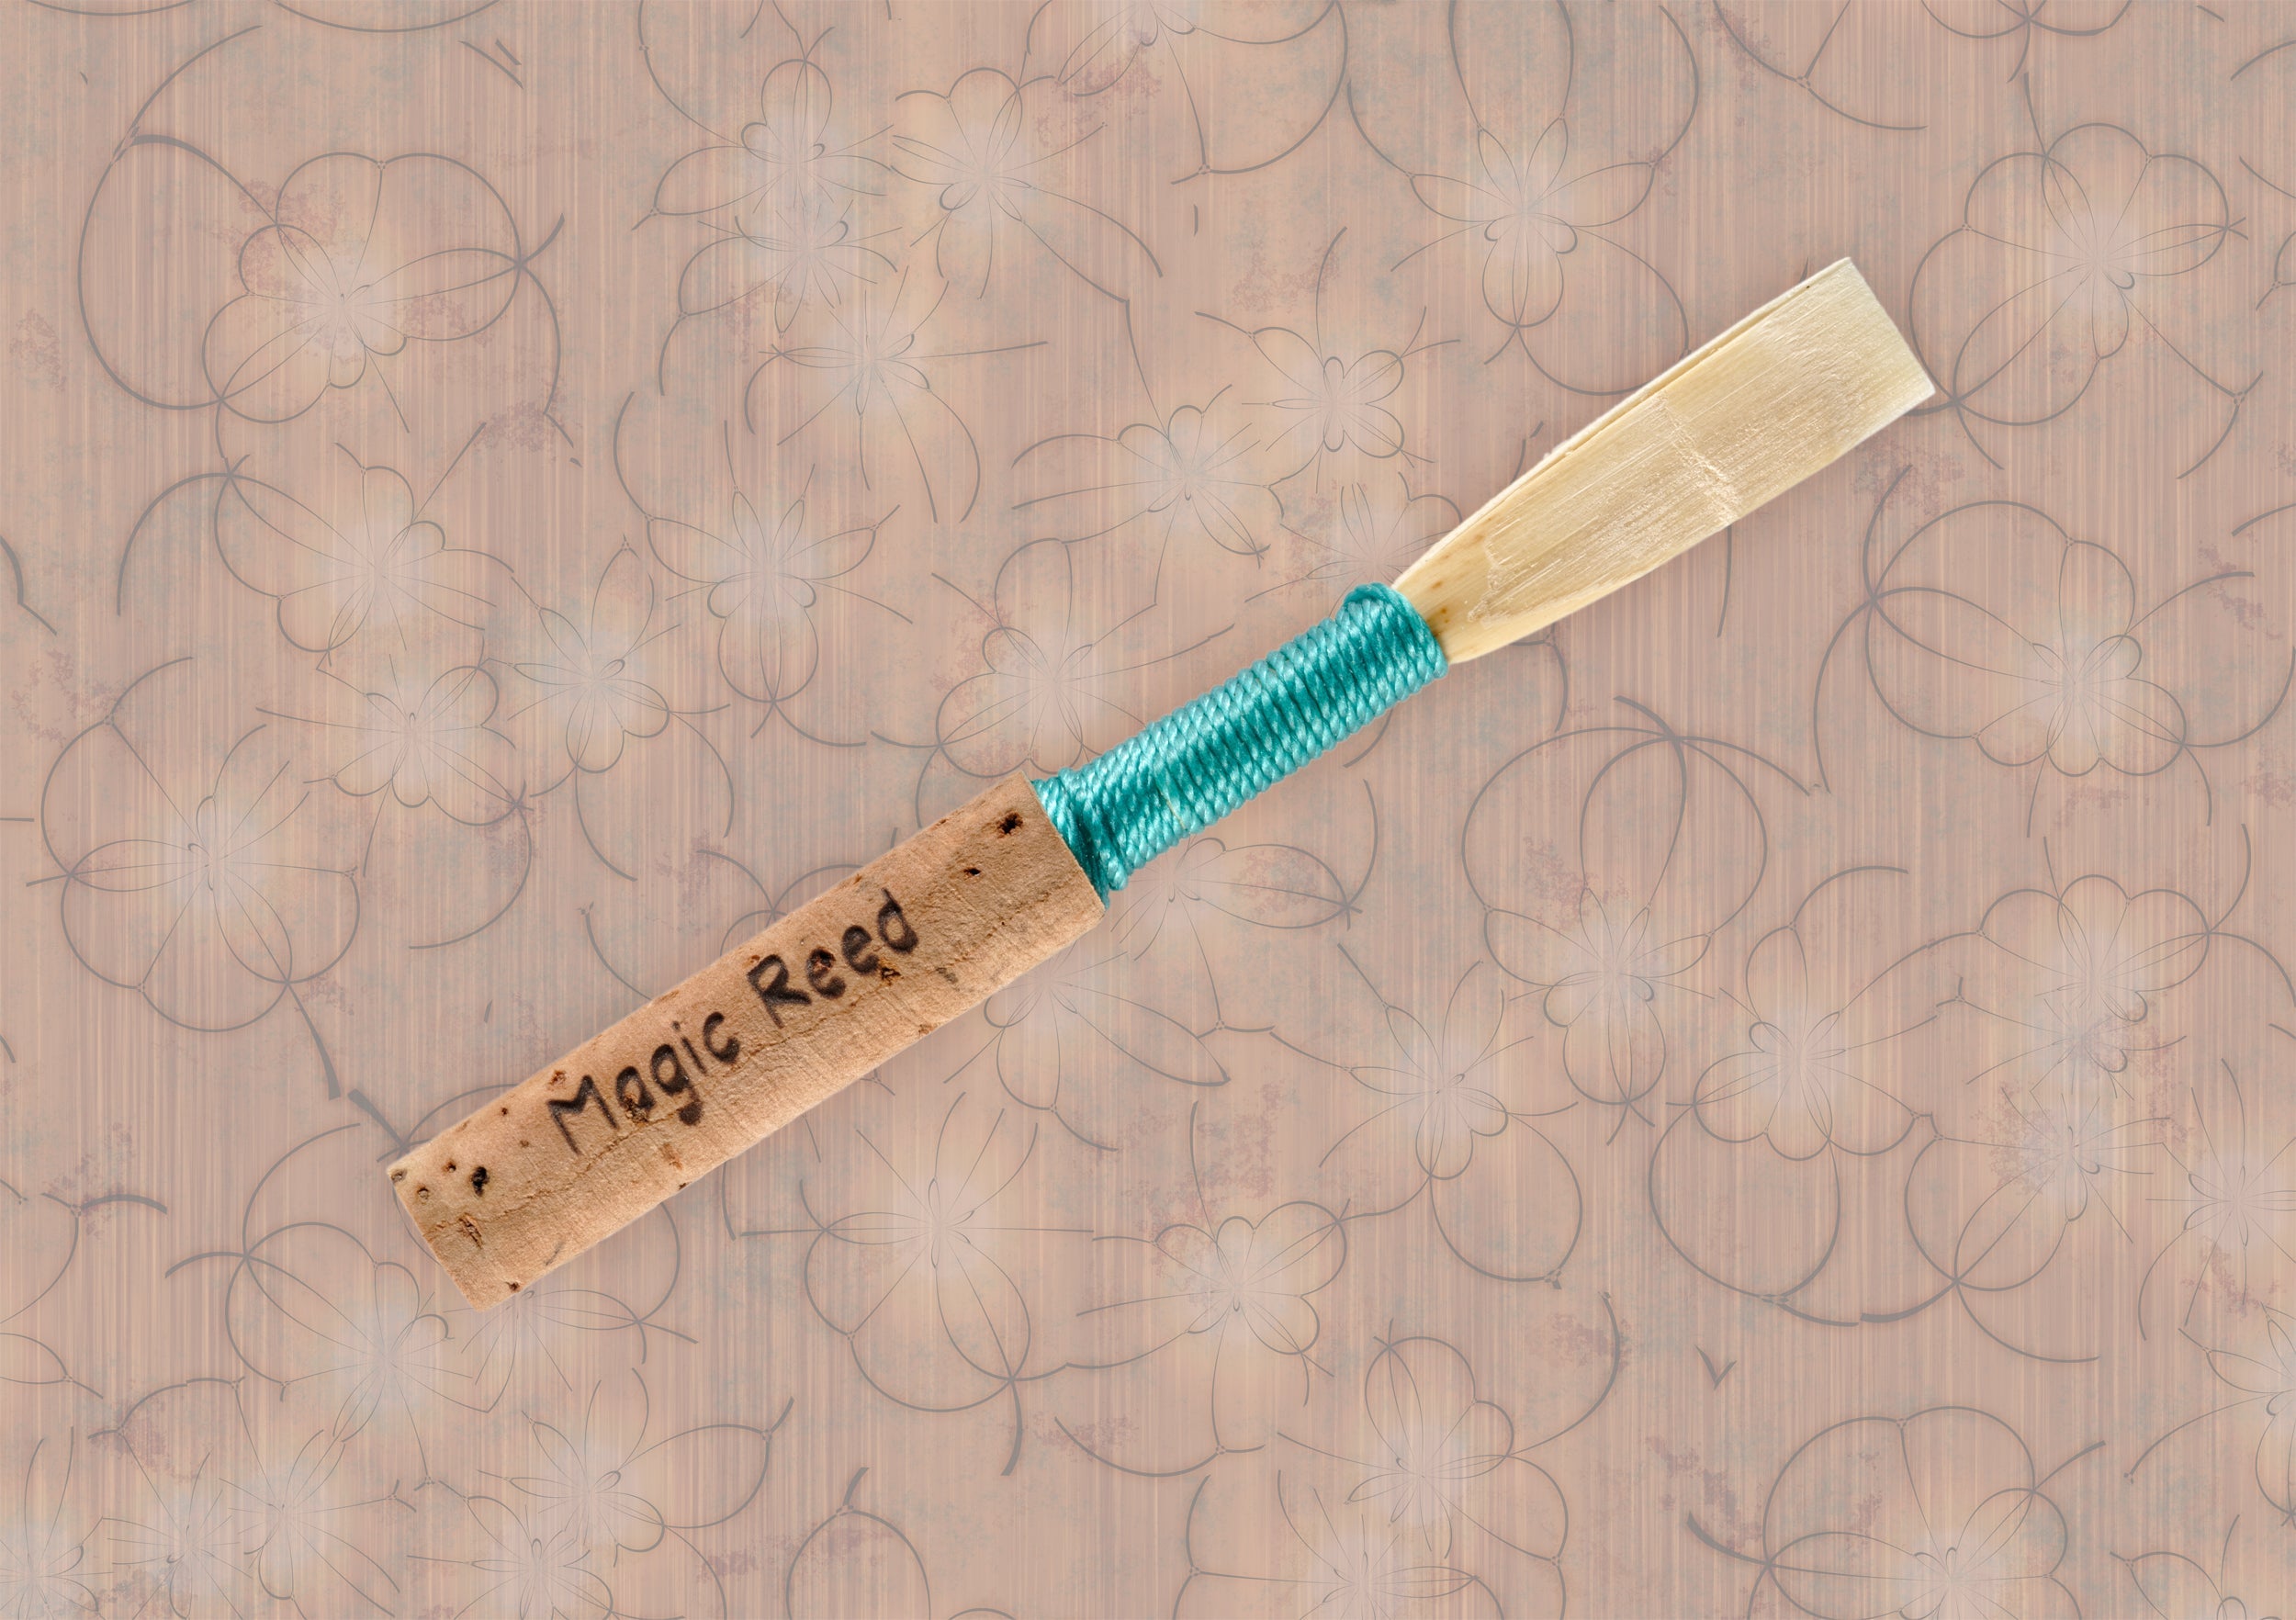


Benefits Of Incremental Oboe Reed Making
-

-
 by Kathy Sheinhouse


INCREMENTAL OBOE REED MAKING
Macro And Micro Level Strategies
A strategy of incremental reed making can improve your results by improving your decision making process. Incremental reed making starts at the macro level with advance planning for the pipeline of materials you will need to take next steps on your way to a finished reed. On the micro level, it includes incremental steps in reed making that help identify deviations from expectations that can alter reed making strategy. The overall goal is always to achieve best results and avoid wasting time on reeds that will never work. While the typical reed maker is unlikely to make the number of reeds I make every year as a professional oboe reed maker, the high volume pipeline management strategies I use can be helpful to others when applied on a smaller scale.
General Pipeline Management
Oboe reed making can be a significant challenge, but if offers accomplished players the most autonomy and control for their customized result. Effective pipeline management of reed making materials at all processing levels (including cane, blanks and finished reeds) is the most macro level of incremental reed making. It is essential for the success of both professional and non-professional reed makers. As a professional reed maker, I keep a 4-5 year inventory of tube cane and 1+ month supply of gouged and/or shaped slips for each brand. I also like to have a week to two weeks of blanks/partially finished reeds available for real time finishing of on-line reed orders. I order 2000 professional staples at a time because they are imported, it keeps costs down, and even gives me a private label. For active players (just making reeds for themselves), pipeline management should follow the same rules, but on a smaller scale. It is all about being ready for practice, rehearsals and concerts with an inventory of 5-10 high quality finished reeds. Some people will need 20 on hand to meet this high quality threshold. The student reed maker (intermediate level) will need 10 high quality staples and 30 slips of cane. It should not come from a reed kit. Professionals need more of everything, but if they gouge themselves, they will have lower costs and more access to cane when they need it. While professional reed makers deal with the pressure of large volume, individual players deal with the pressure of hard deadlines associated with rehearsal and concert schedules. Not having a really good reed for an important concert is every oboist's worst nightmare.
What Is Incremental Reed Making?
Incremental reed making is the micro level of pipeline management. It is breaking down the reed making process into discrete steps to be able to give cane time to rest, and to give the reed maker an opportunity to collect information about the state of the cane or reed after a significant change. This improves cane selection,
reed adjustment decisions and sorting.
When Should Cane Rest During Processing?
Pre-Processed Cane: If you buy gouged or shaped cane, soak, shape if necessary, mount, scrape/clip tip and let it dry. If you are using a new batch of cane, only make one, and make adjustments to length depending on aperture size outcomes after drying. Shortening your tie length by .5 mm can increase the aperture size if necessary.
Tube Cane: Your cane resting cycles depend on you gouger. Most gougers used in the USA gouge cane wet and tube cane needs to be soaked until it sinks in water. This requires certain protocols. Gougers capable of gouging cane in a dry state streamline the process, and cane does not need to be soaked until it is ready for shaping. Here are my recommendations.
- Cane can be split dry for both protocols, and it can be put aside. Some people prefer to soak tube cane and go straight to gouge. This is a personal preference. My personal thinking is that diameter size swells the most when soaked tube cane is split because there are many layers. Cane is not an especially dense wood, so there is room to expand. There will be a spread in diameter either way (the exact increase in size is hard to predict, but may be dependent on specific cane density). I prefer to go through a cycle of expansion contraction before moving forward. I also process more cane at once than the average player and this is a factor.
- For Wet Gougers: soak cane segments, cut-to-length, pre-gouge; measure diameter, sort by diameter and gouge in diameter batches (with appropriate gouger adjustments) for most accurate gouge. Dry. Soak, measure and sort again because the cane diameter has changed. Mount, thin tip, clip, overlap. Dry.
-
I avoid shaping cane that has not been through at least one drying cycle after a wet gouge because too many slips do not fold properly. You can use a straight shaper at this time if you have one, but it should be set aside to dry before folding. Also, how the cane folds gives you valuable information about its quality and potential, and this should help with sorting. If you are focused on making a concert quality reed, you need to be working with cane capable of achieving those results.
I never go from soaked tube cane to scraping on a blank in one sitting. It is a recipe for disaster because the cane has not gone through a period of contraction first. Every time I tried, I ended up dismantling the reed after an over-investment of time trying to tame it. Clipping the tip opens the reed and permits an early offset of the blades. When done properly, it also creates a better seal. There are times when the fold on an unclipped blank indicates that that aperture will explode if clipped. I refrain from clipping in these cases, in hopes that the reed can settle and the aperture size will shrink after drying, Sometimes it does, sometimes it doesn't. I may have to dismantle Let it dry, even if only a half day before going the next step. How it dries tells you a lot about its possible outcomes because you will be able to assess the state of the open aperture after it dries.
Some people also like to expose the bark along the back and the heart when they make a blank. This is just a couple of scrapes. This is a personal preference. My decision to use this technique depends on my assessment of the blank. I usually only apply this strategy when I see that it will be helpful to reduce the internal dimensions of the reed early in the scraping cycle. If the blank is not full-bodied and is destined to be a student reed, I do not remove any bark below the tip.
The number of scraping cycles that are needed to finish the reed depends on the cane, where you live, how it dries, and how particular you are. Here are some of my scraping strategies:
- Define dimensions of tip- begin to thin
- Take long scrapes from back through to beginning of tip leaving some definition in the tip and at least extra 3 mm of thickness in heart (vs. target).
- Thin tip. Crow. Dry.
- Return to reed. Assess aperture. Soak 20-60 seconds depending on aperture size. Execute nuanced finish. This includes modifying the heart (including shoulders), thinning the tip, thinning the back and balancing for tone, pitch and response. Test. Adjust adjust as necessary. Certify to order, assign to another grade or dismantle. Dry. Ship.
- Note that reed makers may do a number of minor adjustments to their reeds after they believed it was finished because they harden when they dry. This may change response and tone.
As always, these are strategies that have worked for me, and I recommend you experiment with them to see if they work for you.


